How to use ASR
In OCTRA v1.4.0 we implemented a new feature: Automatic Speech Recognition (ASR). This feature allows you to process a selected audio sequence through a ASR provider. OCTRA sends the selected audio signal to the BASWebservices that sends it to an ASR provider. You can just select one or more transcription units that shall be processed, three transcription units are annotated in parallel.
Because the selected audio signal is uploaded to an ASR provider (like Google, IBM, EML...) you should be aware that
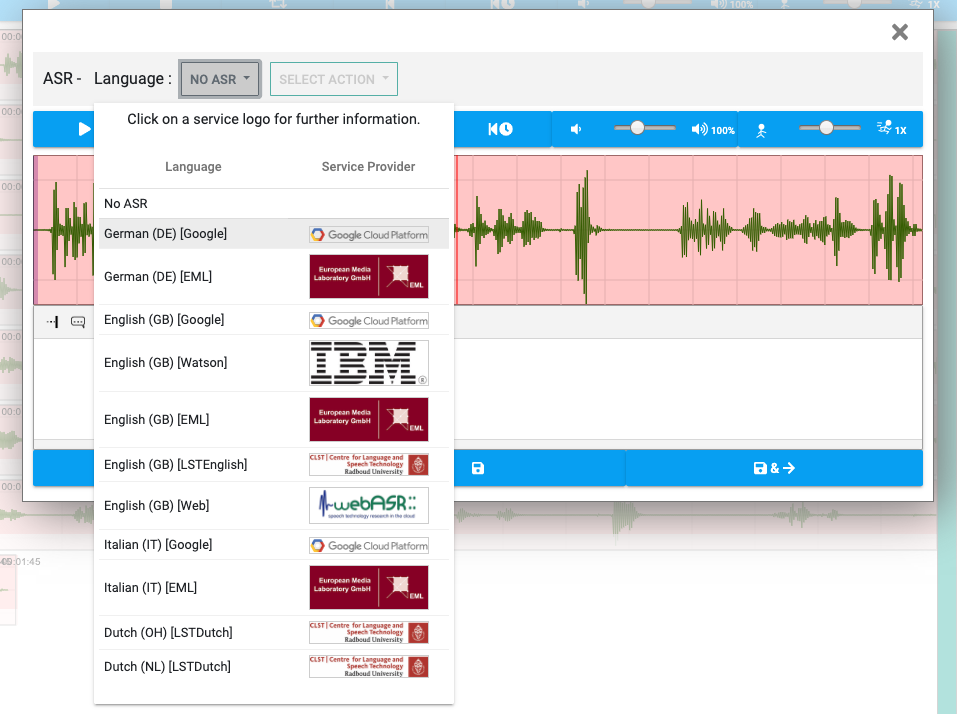
each of them has another privacy policy. To get more information about their privacy policy you can click on the ASR
provider's logo in the dropdown menu (see step 2).
Remarks
To use the ASR feature you have to authenticate via Shibboleth.
The ASR works only while OCTRA is opened. If you don't use your computer/laptop while using ASR with OCTRA make sure
to set your computer's energy settings so that the hibernation or standby mode does not active automatically.
The ASR process can take a while. Because we don't get any feedback from an ASR provider until it succeeds or
failed, you have to wait. The processing time depends on the audio file and the ASR provider.
Workflow
- Make sure that you have selected an ASR provider from the transcription window. If you already did the ASR
settings, go to step three or use the shortcut (see next chapter).
Hover over a transcription unit and press the ENTER key to open the transcription window. Now you see on the top of the transcription window settings that are labeled with "ASR".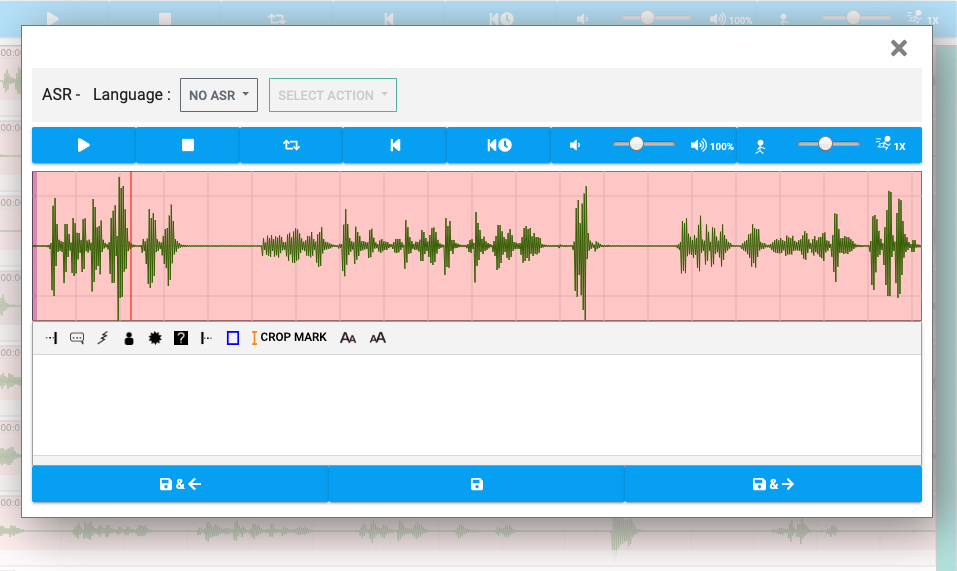
-
Click on the dropdown button that is next to the "Language"-Label. Select an ASR provider and the language you
want to use. For more information about an ASR provider click on its
logo on the right side of the dropdown menu. To select an ASR provider just click on its name on the left.
-
The settings are saved locally even after you have closed your browser. Now you can start ASR or - if you want
to use it later via shortcut - close this window. If you want to start it
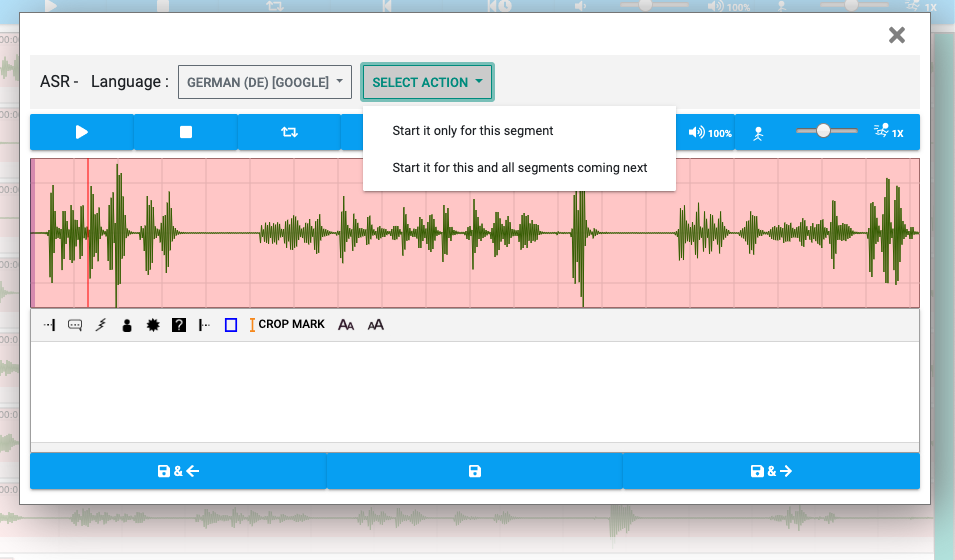
now, click on "SELECT ACTION".
-
Now you see two options:
- "Start it only for this transcription unit": The ASR will be applied to only this transcription unit.
- "Start it for this and all transcription units coming next": The ASR will be applied to this transcription unit and all transcription units coming next.
-
If you did the last step, you will see, that the transcription unit is currently processed by ASR. When it's the first time
you are using ASR in OCTRA, you have to authenticate (see next step). Otherwise go to step 7.
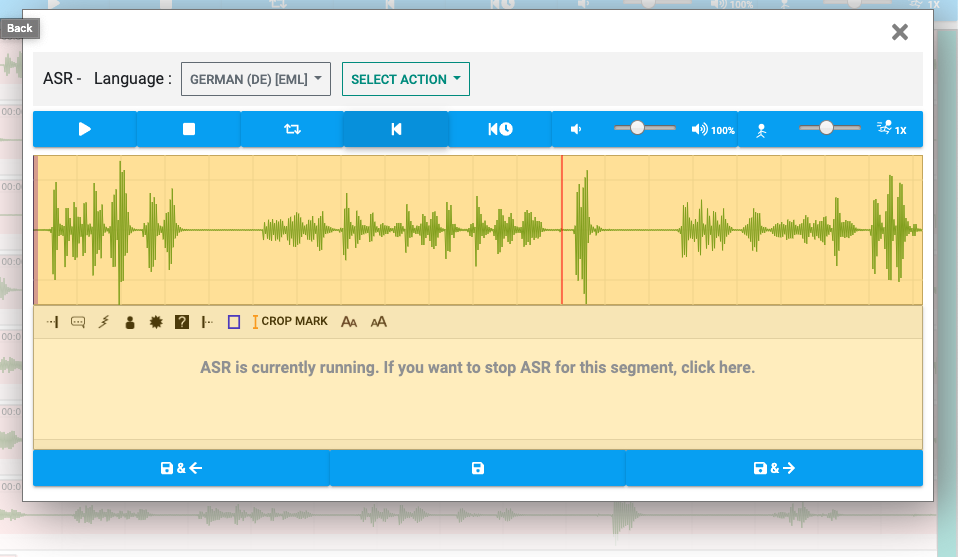
- After the authentication you are redirected back to OCTRA. If you are using the local mode, just re-upload your audio file. After that you can continue your progress. After the redirection back to OCTRA you can run ASR again.
-
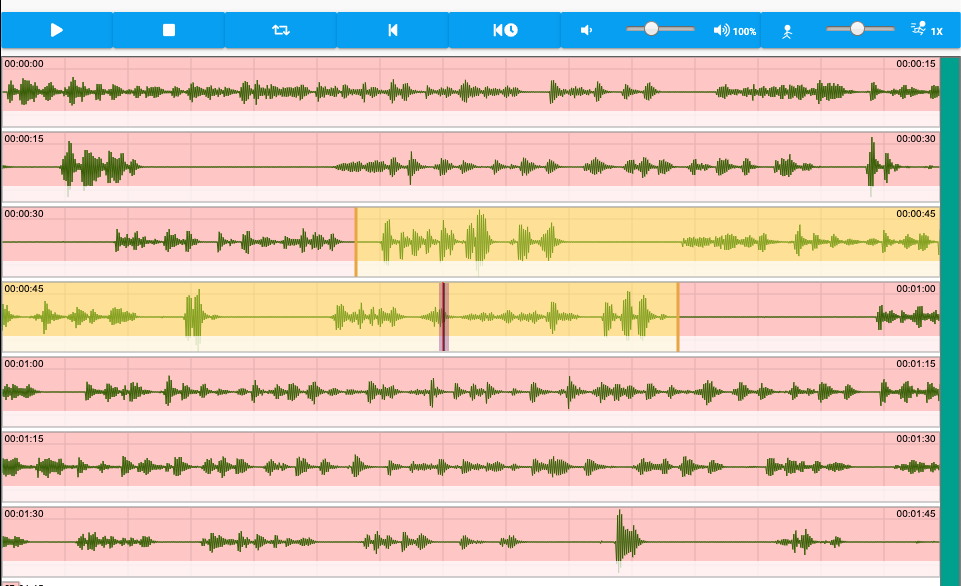
You don't have to keep the transcription window opened. You can close it, the ASR process is running in the
background. Transcription units that are processed by ASR are highlighted yellow.
-
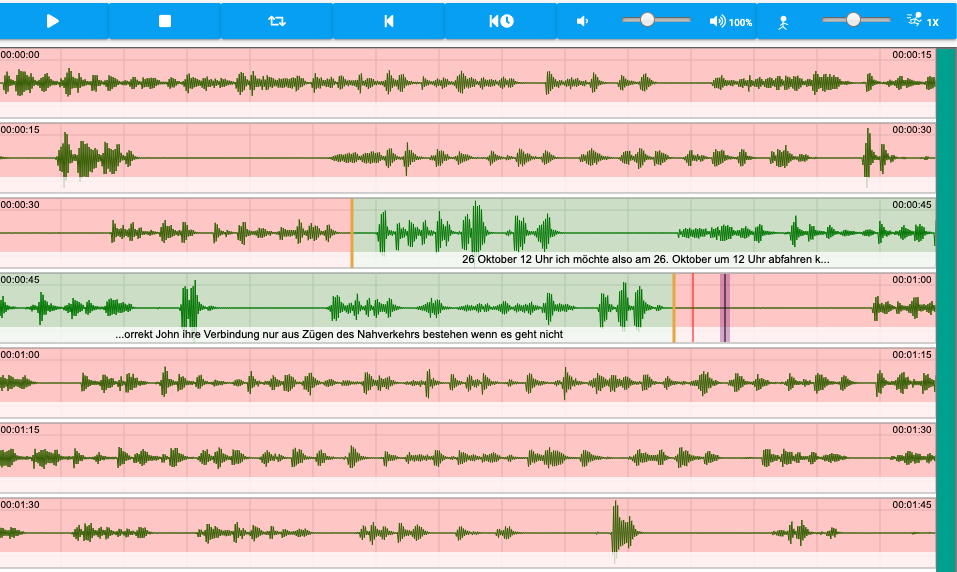
As soon as the process succeeds, it's marked green. If it failed, the yellow color disappears. Wait until the
yellow color disappears. It can take a while, but you could annotate another transcription units, that are not processed by
ASR.
How to start ASR using a shortcut
After you did the ASR settings, you can just hover over a transcription unit in the 2D-Editor and hit the "R" key (R stands for "Recognition").How to stop ASR
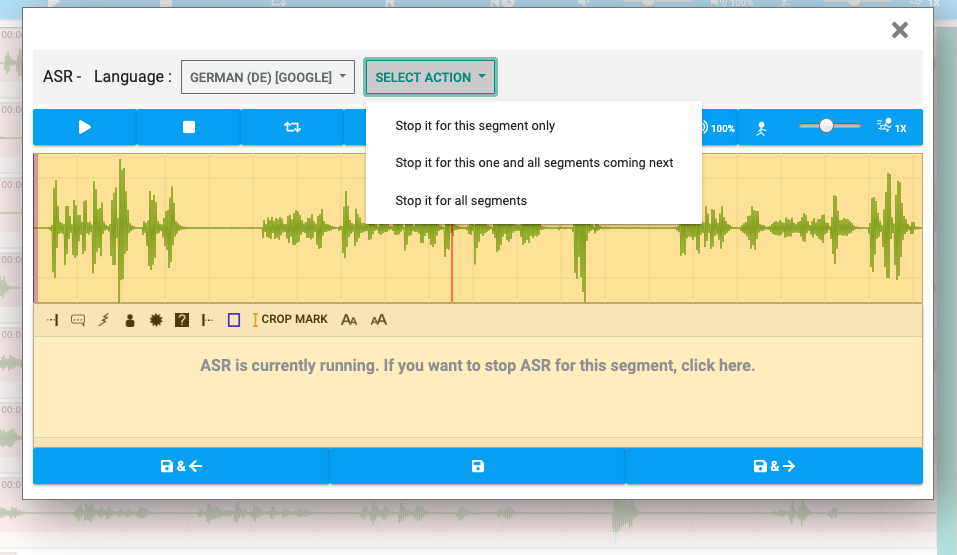
There are two options:- Option 1: Using the R-Key
- Hover over a yellow transcription unit and hit the R-Key. The yellow color disappears.
- Option 2: Using the transcription window
